Laser Engraving File: How to Prepare Your Logo
The best file format for laser engraving a logo, how thick lines should be, positive or negative by material, and the file mistakes that ruin a job.
By Gaël Pons
Published
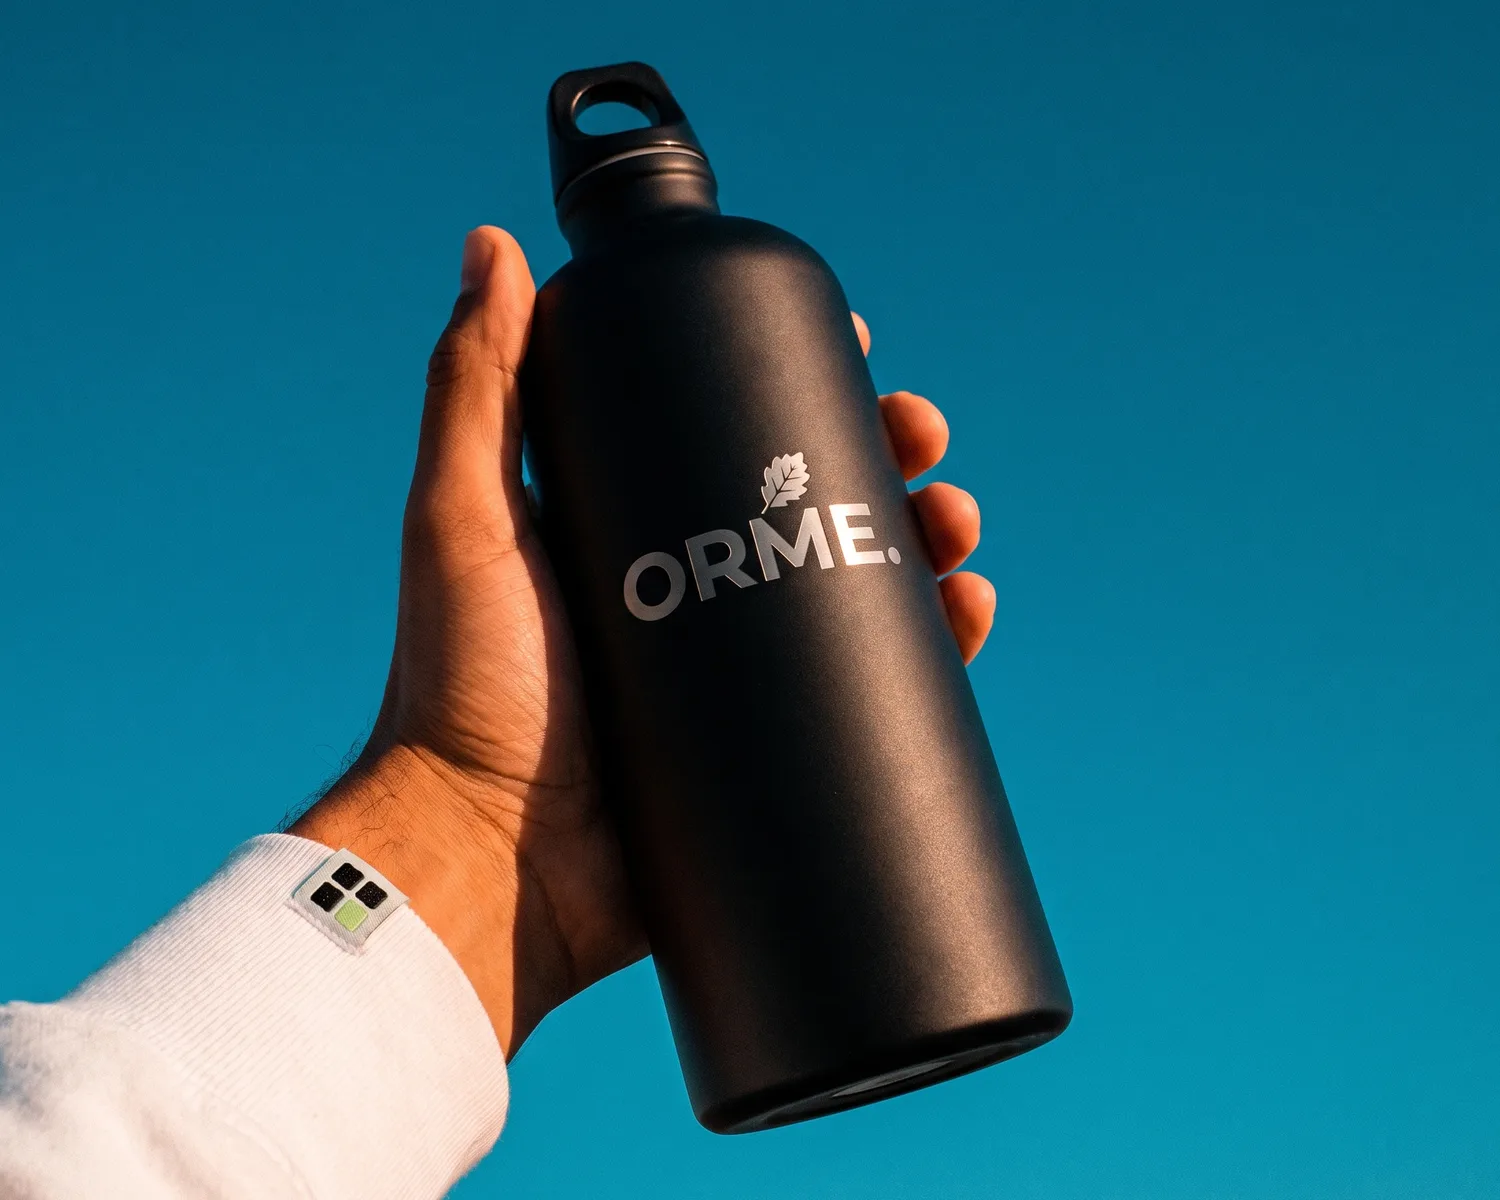
The best laser engraving file for a logo is a one-color vector file (SVG, DXF, AI or PDF) with no gradients and lines thick enough for the beam. A vector file stores your logo as shapes, not as tiny colored squares, so the machine follows every edge at any size.
What file format do you need to laser engrave a logo?
To laser engrave a logo, you need a one-color vector file with solid, closed shapes on a transparent background. The formats engravers ask for most are SVG, DXF, Adobe Illustrator (AI) and vector PDF. A laser only knows two states, burn or don’t burn, so every color and every shade in your logo has to be settled before you send it.
If the shop insists on a DXF, the format itself (opening one, exporting it from an SVG) is covered in what a DXF file is. For most people engraving gifts, signs or merch, a clean SVG does the job.
Raster engraving or vector engraving: does the file change?
Raster engraving and vector engraving don’t expect the same file. In raster mode the laser sweeps the surface back and forth, line after line, like a printer, and darkens every filled area of the logo: it takes a vector file, but also a PNG or JPG if the image is sharp and large enough.
In vector mode, or when cutting, the laser runs along the exact outline of each shape. That mode needs a vector file: a pixel image gives the head no precise edge to travel along. If you don’t know which mode the shop will use, send a vector file, since it works for both.
How thick should lines and text be for laser engraving?
The minimum line thickness and text size for laser engraving depend on the machine, the material and the final size of the logo, so there’s no single number that holds everywhere. The practical test is relative: shrink the logo on screen to its real size, and any detail you can barely make out will vanish or blur on the engraved piece.
Three habits prevent most disappointments:
- view the logo at its actual size (a 2-inch tag, a pen, a keychain) and check that every letter still reads;
- beef up hairlines and the thin joins between letters, because wood scorches slightly past the drawing;
- drop small secondary text (tagline, fine print) if it turns illegible when small.
When in doubt, ask the engraver for the finest detail their machine holds on your material. They’ll know it off the top of their head.
Should you engrave the logo positive or negative?
Whether to engrave the logo positive or negative depends on what the laser does to the material: on some surfaces the engraved area turns dark, on others it turns light. Your file has to mark as “engrave here” the part of the logo you want to stand out.
| Material | What the laser does | File to send |
|---|---|---|
| Light wood, cardboard, cork | the engraved area browns or blackens | the positive logo (dark shapes) |
| Slate, dark stone | the engraved area turns pale | often the negative, to keep the logo’s look |
| Anodized aluminum | the colored layer comes off, bright metal shows | often the negative |
| Dark leather | the engraved area darkens further, with low contrast | the positive, with bold shapes |
| Glass | the engraved area turns frosted white | check with the shop |
The one-color version is your starting point for the positive (see what a monochrome logo is), and the white logo for dark backgrounds is your starting point for the negative. The shop can also invert the design itself: just say which part should look light on the finished piece.
Which files do LightBurn, xTool Creative Space and LaserGRBL open?
LightBurn, xTool Creative Space and LaserGRBL are the laser control programs you’ll meet most often with hobbyists and small shops. LightBurn imports the usual vector formats (SVG, AI, PDF, DXF) as well as images; xTool Creative Space, which ships with xTool machines, also opens SVG, DXF and images. LaserGRBL, a free program, is built first and foremost for engraving images, so check its documentation before counting on a vector file.
In practice, SVG is the format that moves most smoothly from one program to another. If your engraver uses something else, ask in one line: “which format do you import for a logo?”
What file mistakes ruin a laser engraved logo?
The mistakes that ruin a laser engraved logo almost always come from the file, not the machine. The most common ones:
- duplicate outlines: two identical shapes stacked on top of each other, so the laser passes twice and burns deeper in that spot;
- open shapes: a shape left open has no inside to fill, and when cutting, the piece stays attached;
- live text that wasn’t converted to shapes: the engraver’s software swaps the missing font for another one and your name changes look (here’s how to convert text to outlines);
- a gradient or drop shadow: the software turns it into a cloud of dots that looks grainy;
- a white background left in the file: in raster mode the laser engraves a rectangle around the logo;
- a photo or screenshot pasted into a PDF: the file looks like a vector, but the machine finds no outline to follow.
Before you send it, open the file, switch to outline or wireframe view in your software and look closely: every shape should appear once, closed, with no hidden image underneath. The rest of the checks before sending anything to a shop are listed in our print-ready logo checklist.
Where can you get a logo file your engraver will take?
A logo file your engraver will take is about ten seconds away with Depixelise, starting from your JPG, PNG, WebP or even a messy old SVG (up to 10 MB). The converter rebuilds your logo as vector shapes, removes the background and shows you the result full size, next to the original. By email, you get an SVG that laser software opens without fuss, the one-color version for a positive engraving, the negative for slate or anodized metal, and a transparent 2000 px PNG for everything else. The tool is 100% free, with no account to set up and no watermark stamped on your files. One thing to check yourself: zoom in and make sure the finest details of the one-color file are thick enough for the size you’re engraving.
FAQ
Is a JPG good enough for laser engraving?
Yes, a raster engraving can start from a sharp, decently sized JPG, but the edges will only be as clean as the image. Vector engraving and cutting need a vector file. A small or blurry JPG gives stair-stepped edges you can see with the naked eye on wood.
Does a laser engraving logo have to be black?
No, a laser engraving logo doesn’t have to be black, but it does need to be one solid color. In an image, the software reads black as the area to burn; in a vector file, colors mostly sort shapes into settings, and the engraver sets the power.
Can the same file be used for laser engraving and laser cutting?
The same file works for laser engraving and laser cutting if it holds only closed shapes with no duplicates. Cutting adds one catch: every small inner piece (the middle of an O or an A) drops out once it’s cut, unless a small bridge ties it to the rest.
What size should you send the logo to the engraver?
Send the logo at the actual engraving size, and state that size in millimeters or inches in your message. A vector file scales without loss, but giving the final dimension avoids unit mix-ups and lets the engraver spot overly fine details right away.