Iron-On Logo: Custom Transfers You Apply at Home
Cut vinyl, printed transfer or label: which iron-on logo to order, the file to send, and how to press it with a home iron so it lasts.
By Gaël Pons
Published
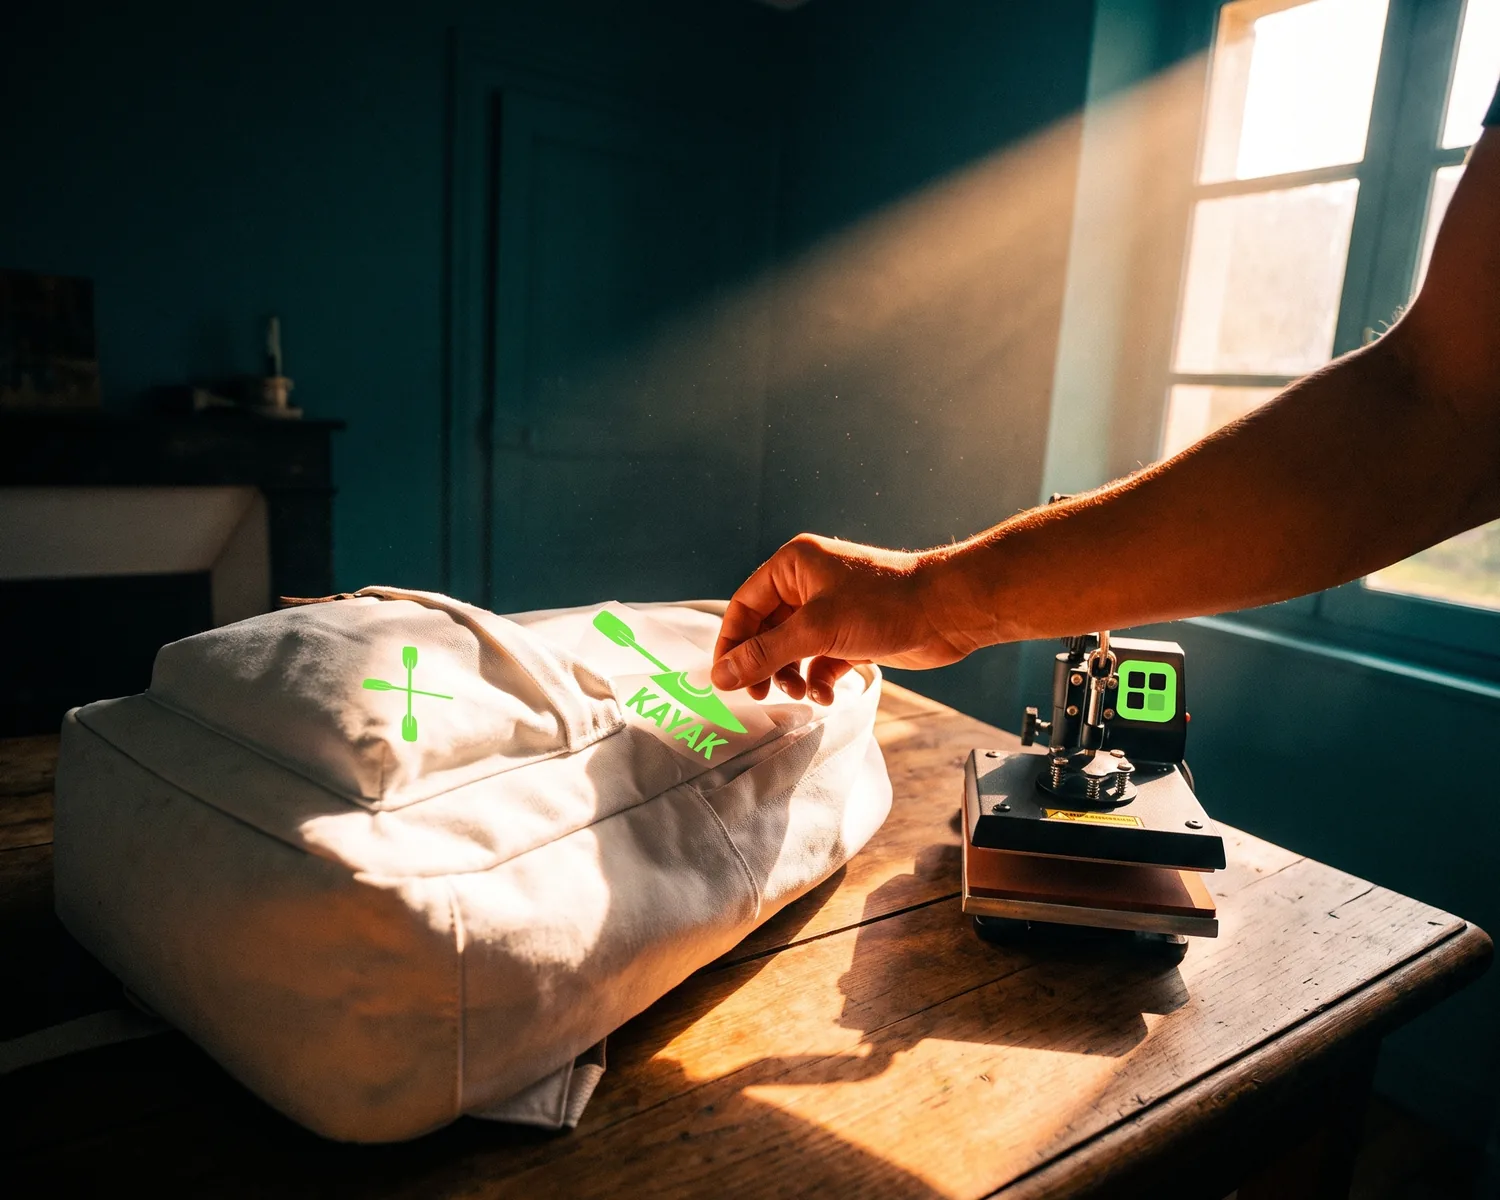
An iron-on logo is your logo made into a heat-activated transfer, shipped on its own carrier sheet, that you press onto a shirt, hoodie or tote bag with a household iron. Whether it lasts comes down to three things: the right kind of transfer, a clean logo file and firm pressure.
What is an iron-on logo?
An iron-on logo is a fabric decoration with heat-activated glue on the back: under the iron the glue melts into the fibers, and once it cools the design stays put. You aren’t buying a decorated garment, just the decoration itself, ready to go on clothes you already own whenever you like.
It’s the go-to option for short runs: ten polos for the shop, shirts for a family reunion, tote bags for a nonprofit’s fundraiser. When a shop presses the same kind of decoration onto shirts it sells you, it’s usually called heat transfer vinyl shirts instead.
What kinds of iron-on transfers can you order?
Custom iron-on transfers come in three main families: cut vinyl, printed transfers and labels. Which one fits depends mostly on how many colors your logo has.
| Type | Best for | Good to know |
|---|---|---|
| Cut vinyl (HTV, heat transfer vinyl) | one to three solid colors | one sheet per color, cut along the outlines by a machine, smooth finish |
| Printed transfer (DTF, print on film) | full-color logos, gradients, photos | every color in a single piece, finer detail |
| Iron-on label | small brand mark, a name | goes inside a collar or along a seam |
Embroidered patches with an iron-on backing are another product altogether, thicker and raised, and ordering them means other decisions, all walked through on our page about custom embroidered patches.
What file do you send to get an iron-on logo made?
To get an iron-on logo made, send a vector file: a drawing stored as outlines and color fills rather than pixels, usually an SVG or a PDF. The cutting machine follows the outlines of your design: a JPG gives it nothing crisp to follow, and the shop will send it back. What each format holds, and which one to hand over for which job, is laid out on our page about the vector file and its formats.
For a printed transfer, a large PNG with a transparent background is often accepted, but vector is still the safe bet. Two checks before you send anything:
- the background: a forgotten white box around the logo gets printed or cut along with it, and shows on any colored shirt;
- fine details: after cutting, someone peels the unused vinyl away by hand (weeding), and hairline strokes or tiny letters often tear off at that stage. Thicken or simplify them.
For a black or navy shirt you’ll also need a light version of the logo: the traps of a white logo on a dark background apply to iron-ons too.
Is your logo only a few hundred pixels wide?
A tiny logo, like the club’s profile picture or the header image from an old website, can still become a sharp iron-on: Depixelise first enlarges an undersized image automatically, then redraws every shape from that bigger version. The rebuild can soften a corner or reshape a letter, so open the preview, zoom in on the smallest text and compare it with the original before anything goes to the shop.
You pay nothing (the tool is 100% free), you never register, the result carries no watermark, and the background gets stripped automatically. The files land in your inbox: the SVG for cutting, a transparent PNG, a one-ink file, plus a reversed light copy meant for dark fabrics.
How do you apply an iron-on logo with a household iron?
You apply an iron-on logo by pressing hard in one spot without moving, not by ironing back and forth: steady heat and pressure are what melt the glue. Exact settings (temperature, time, hot or cold peel) vary by brand, so follow the instructions that came with the transfer, or a reference chart like the Cricut Heat Guide, sorted by material and base fabric.
- Prep the garment: clean, dry, no fabric softener, and pressed once to drive out moisture and wrinkles.
- Turn the steam off and work on a hard surface covered with a cloth, not the ironing board, which is too soft.
- Position the transfer, cover it with the protective sheet supplied (or parchment paper), then lean your full weight on the iron, one section at a time.
- Peel the carrier slowly and flat. If part of the logo lifts with it, lay it back down and press again.
- Wait before the first wash, as long as the maker says: the glue keeps setting after you’re done.
Household iron or heat press?
A household iron is enough for a handful of iron-on logos, as long as you press hard and long. A heat press keeps the temperature and pressure even across the whole design, which matters for a large logo wider than the iron’s soleplate, or for a batch.
Once you’re outfitting a whole team or club, get a quote from a print shop too: it presses every piece the same way, so the result stays consistent from one shirt to the next.
Which fabrics do iron-on logos stick to?
Iron-on logos stick well to cotton, polyester and blends, which covers most T-shirts, sweatshirts and canvas totes. They let you down in three places:
- heat-sensitive fabrics: thin nylon, waterproof jackets, technical windbreakers. The iron leaves shiny marks or melts them;
- bumps: thick seams, zippers, pockets. Pressure doesn’t reach everywhere and the edges lift;
- curved, stiff surfaces like the front of a cap, which suits custom embroidered hats far better.
How long does an iron-on logo last?
A well-applied iron-on logo holds up to everyday washing, as long as the garment goes in inside out, on a cool cycle, and dries on a line. The dryer and an iron placed straight on the design are its two enemies: heat softens the glue and cracks the film. Early peeling is almost always caused by too little pressure or too short a press.
When the day comes to change logos, the old one can come off: see how to remove vinyl from a shirt without ruining it.
FAQ
Can you print an iron-on logo on a home printer?
Yes, you can print an iron-on logo at home on inkjet transfer paper, sold in one version for light fabrics and another for dark ones. It’s fine for a one-off, but the design feels stiffer and wears faster than cut vinyl or a professionally printed transfer.
Will an iron-on logo stay on a canvas tote bag?
Yes, a cotton canvas tote is one of the easiest surfaces there is: flat, thick and with no stretch. Set the bag on a hard surface and slide a piece of cardboard inside so the pressure doesn’t sink into the back layer.
Can you iron a shirt that has an iron-on logo?
Yes, you can iron a shirt with an iron-on logo: turn the shirt inside out and keep the iron off the design. If you have to go over it, put a cloth or a sheet of parchment paper in between.
What should you do if a corner starts peeling?
Cover the design with its protective sheet or parchment paper, then press that corner again, hard and without moving. If the glue won’t grab anymore after several washes, the decoration is worn out and it’s time to replace it.
Does an iron-on logo have to be one color?
No, but a one-color logo is the simplest and cheapest to cut in vinyl, since it fits on a single sheet. For a multicolor logo or one with gradients, ask for a printed transfer instead.