Custom Embroidered Patches: What to Decide Before You Order
Iron-on, sew-on or velcro, merrowed or hot-cut border, minimums, turnaround and the logo file to send: what to decide before ordering custom patches.
By Gaël Pons
Published
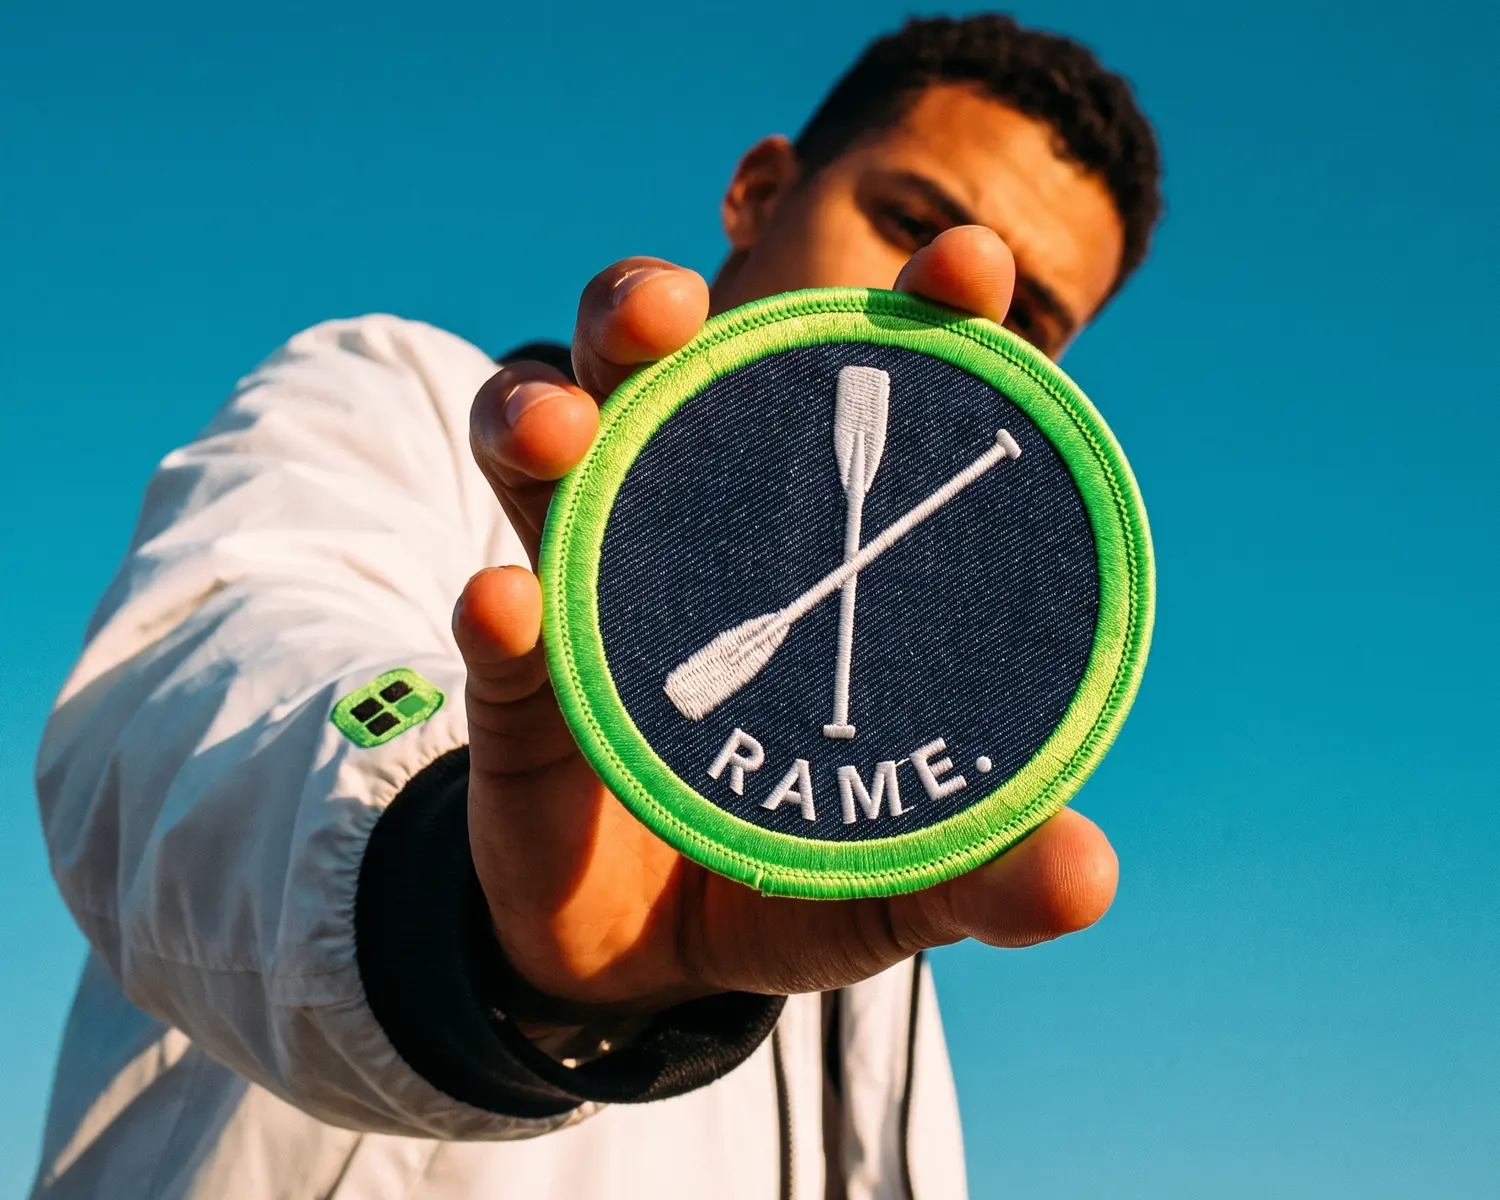
Custom embroidered patches are your logo stitched onto a separate piece of fabric, then attached to clothing or gear by iron, needle or velcro. To order them, you pick a backing, a border, a shape and a quantity, then send your patch maker a clean logo file.
What are custom embroidered patches?
A custom embroidered patch is a design stitched in thread onto a stiff twill base, cut out and edged, then applied to a garment once it’s made. The embroidery isn’t done on the jacket or cap itself: it’s produced on its own, in a batch, and added afterwards.
That’s the key difference with direct embroidery, where the machine stitches the logo straight into the shirt or hoodie.
Should you get patches or direct embroidery?
Patches make sense when the items vary, are hard to stitch through, or when the logo has to come off. One run of patches can go on backpacks, puffer jackets, leather, structured caps and work bags, all things an embroidery machine struggles with.
Direct embroidery looks more built-in and is simpler when every item is the same, like a set of polos or a custom embroidered t-shirt. A patch is ordered once and goes wherever you want, including on clothes you buy later from another supplier.
Iron-on, sew-on or velcro: which backing should you choose?
The right patch backing depends on use: iron-on for a quick application with a household iron, sew-on for a permanent badge, velcro (hook and loop) for a patch you can swap or remove. Most makers offer all three; Patches4Less also lists peel-and-stick adhesive and plain backs.
- Iron-on: a heat-activated glue on the back. Handy on cotton and blends, less reliable on technical or very stretchy fabrics.
- Sew-on: the longest-lasting option, the one used on uniforms and workwear.
- Velcro: the patch comes off for washing or changes with the team, the mission or the event. The soft loop side is sewn onto the garment.
Many teams use both of the first two: iron it on to hold it in place, then add a few stitches around the edge so it stays put.
Embroidered, woven or PVC: what’s the difference?
Embroidered patches have raised, textured thread; woven patches are flat and thin, so they hold finer detail and smaller text; PVC patches are molded from soft rubbery vinyl with no thread at all. Patches4Less describes woven thread as thinner and flatter, which is why it suits small lettering.
If your logo has tiny text or lots of fine detail, ask your maker whether woven would read better. You gain sharpness and lose the raised look.
Merrowed or hot-cut border: which one?
A merrowed border, a thick overlocked stitch wrapped around the edge, is the classic and most durable finish, made for simple shapes such as circles, ovals, rectangles and shields. For a custom shape that follows your logo’s outline, makers use a hot-cut edge, which seals the fabric and allows almost any silhouette.
Either way, the border takes up a few millimeters all around. Leave breathing room between your design and the edge, or the outer letters will disappear under the thread.
How big should a patch be, and how many colors?
Patch size depends on where it goes, and a readable patch uses only a few solid colors, thick lines, and no detail too small for thread to follow. A patch is a small surface, so the usual embroidery limits bite harder: fine text, thin outlines and gradients are the first to go.
Size mostly depends on placement. A chest or sleeve patch stays modest, while a back patch can carry a full logo, as on a custom embroidered jacket. A photo won’t work as is: it has to be turned into flat areas of color first.
What file should you send for custom patches?
For custom embroidered patches, the ideal file is a vector version of your logo (SVG, AI, EPS or vector PDF), so the patch maker gets your logo as clean, scalable shapes rather than tiny colored squares that blur when stretched. Shapes give the digitizer clean edges to follow; if you’re unsure what that means, read our explainer on what a vector image is.
Many makers will take a JPG or PNG with your order (Patches4Less accepts almost any format), but someone then has to redraw your logo before it can be stitched. Sending clean shapes yourself skips that guesswork: you approve the outlines instead of hoping the shop reads them right. If all you have is a tiny, blocky logo, start by learning how to unpixelate an image.
What is patch digitizing?
Digitizing is the step where the maker turns your logo into a stitch program for the machine: thread direction, density, color order. It’s done once per design, then reused for the whole run and any reorder, which is why makers want sharp shapes and not a blurry picture.
Before production, you’ll get a digital proof (a mockup to approve). Check it letter by letter: it’s your last chance to fix a typo.
What’s the minimum order for custom patches?
The minimum order for custom embroidered patches depends on the maker: Patches4Less starts at 10 pieces for embroidered and woven patches and 50 for PVC, and other makers set their own threshold, so ask before you compare quotes. The longer the run, the less each patch costs, because digitizing and machine setup are paid once for the whole order.
How long does it take to get custom patches?
Custom patches take weeks rather than days: Patches4Less quotes 14 to 22 days for embroidered patches and 4 to 6 weeks for woven ones. For a tournament, a reunion or a launch date, order early and have your logo file ready before you ask for a quote.
Getting your patch logo ready: four files, one for each use
If your logo only exists as an image, upload that picture to Depixelise, whether it’s a PNG, JPG, WebP or SVG, as long as it’s 10 MB or less: it’s turned into shapes in about ten seconds, 100% free, with no account and no watermark. You see the result full size on screen, ready to zoom. By email, you get four files, each with a job: the SVG for your patch maker, a transparent PNG for your website or the mockup, a single-color version for a tone-on-tone patch or one thread color, and a negative version for a light logo on a black or navy twill. Check the single-color file if your logo uses two similar colors: flattened to one shade, part of the lettering can vanish. Depixelise doesn’t make patches; it prepares the file you hand to the people who do.
FAQ
Can you remove an iron-on patch?
Yes, an iron-on patch can be removed by warming the glue with an iron through a pressing cloth, then lifting it slowly from one corner. Some glue may stay on the fabric, especially on light colors.
Can you put a patch on a hat?
Yes, a patch is often the easiest way to brand a structured cap, whose stiff front panel is hard to embroider directly. Sew it on rather than ironing it: glue holds poorly on a curved, rigid surface.
Should you order a sample before a big run?
For a large order, yes: a sample shows the real thread colors and whether the text is readable at actual size. Ask for one before committing to hundreds of pieces.
Are embroidered patches machine washable?
Yes, embroidered patches survive the washing machine, ideally inside out on a gentle, cool cycle. A sewn-on patch handles repeated washing better than an iron-on one, whose glue weakens over time.
Can you remake an old patch without the original file?
Yes, an old patch can be remade from a sharp photo of it, taken flat and in good light, then converted into shapes. Stitched thread has texture and shadows, so expect to tidy a few details before the new run.