Illustrator Image Trace: Step by Step for a Clean Logo
Where Image Trace lives, the right preset for a logo, the box that drops the white background, the Expand step, and when to skip Illustrator.
By Gaël Pons
Published
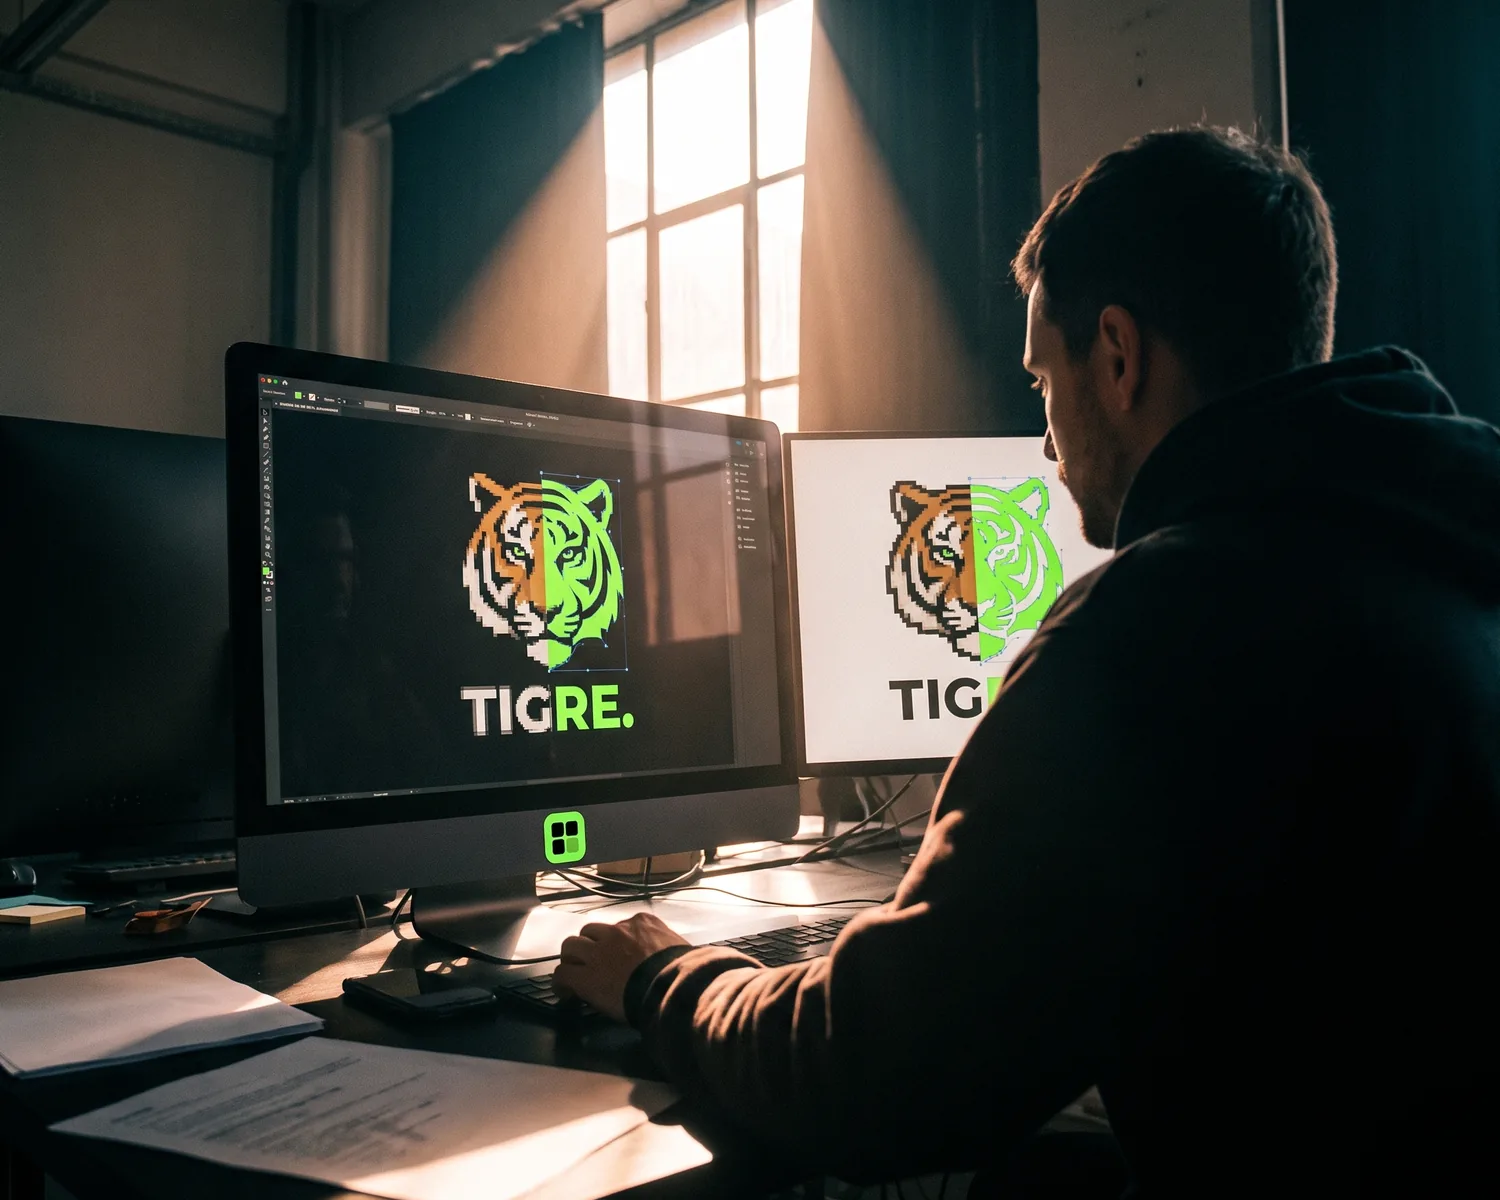
Image Trace in Illustrator lives under Window > Image Trace: select your picture, pick a preset, tick “Ignore White”, then click Expand to turn the preview into real shapes. You’ll need an Adobe subscription and, the first time, a few test runs.
How do you use Image Trace in Illustrator, step by step?
Using Image Trace in Illustrator takes seven moves, from opening the file to a logo split into editable shapes. The output is a vector file, built from shapes instead of a grid of little colored squares, which is why your logo stays sharp at any size.
- Open the picture with File > Open, or File > Place if a document is already started. Use the largest, sharpest version you have.
- Select it with one click of the black arrow (Selection tool).
- Show the panel: Window > Image Trace. The same button sits in the Properties panel, and Object > Image Trace > Make runs a conversion with the default settings.
- Pick a preset at the top of the panel (more on that below).
- Tick “Preview” so every change shows up live.
- Click “Expand” in the Control bar, or go through Object > Expand.
- Ungroup (right-click > Ungroup) to edit each shape with the white arrow (Direct Selection tool).
Which Image Trace preset works best for a logo?
The best Image Trace preset for a logo is the one with as many colors as the logo itself: “Black and White Logo” for a single color, “3 Colors” or “6 Colors” for a flat-color design. “High Fidelity Photo” and “16 Colors” are built for photos and will chop a logo into hundreds of tiny pieces.
Count the solid colors in your logo first, leaving out the background. When Illustrator is allowed more, it invents in-between shades along the edges, and every letter ends up wrapped in a thin ghost outline.
To keep your exact brand colors, set “Palette” to “Document Library”: Illustrator then sticks to the swatches in your document instead of guessing close matches.
How do you remove the white background with Image Trace?
You remove the white background with Image Trace by ticking “Ignore White” under the Advanced section of the panel, before you click Expand. Skip it and the logo keeps a white box around it.
This is the mistake that bites most often. On a white artboard, you can’t see a thing. The white rectangle only shows up when your embroiderer or your print shop drops the logo onto a dark shirt.
What does the Expand button actually do?
The Expand button turns the Image Trace preview into real shapes you can select, recolor and save as vector art. Until you click it, Illustrator keeps the original picture and simply displays a preview on top of it.
That’s why a file sent too early disappoints the print shop: they open it and find the same pixel image you started with. Object > Image Trace > Make and Expand does both in one go, when the default settings suit you.
Which advanced settings really change the result?
Three advanced Image Trace settings make most of the difference on a logo: Threshold, Paths and Noise. Leave the others alone on a first attempt.
- Threshold, in Black and White mode: it decides which pixels turn black. Too low and thin letters break apart; too high and they get chunky, with the grain of the image showing through.
- Paths: the higher the slider, the closer the outline hugs the original, flaws included. On a geometric logo, lower it for smoother curves.
- Noise: it ignores specks smaller than the value you set, in pixels. Raise it when stray dots float around your lettering.
Two extras worth knowing: “Snap Curves To Lines” straightens edges that are almost straight, and the Abutting method (shapes placed side by side rather than stacked) gives a simpler file for embroidery or vinyl cutting.
How do you check the converted logo before sending it?
You check the converted logo in Outline view: View > Outline, or Ctrl+Y (Cmd+Y on a Mac). It shows the skeleton of the artwork without color. A handful of clean outlines is a good sign; a tangle of tiny fragments means the preset was too rich.
Then zoom way in on the fine details: letter tips, small text, sharp corners. They break first, and they’re what the shop notices.
What format should you save it in?
Save the Image Trace result as AI, PDF or SVG, depending on who’s receiving it:
- AI, Illustrator’s own format, if you or a designer will keep working on it (what’s inside an AI file);
- PDF, keeping “Preserve Illustrator Editing Capabilities” ticked, for most printers;
- SVG, through File > Export > Export As, for an embroiderer, a website or a cutting machine.
Not sure which one your printer wants? The three formats are compared side by side in SVG vs EPS vs PDF.
Why does the result still look bad after all the tweaking?
A result that still looks bad nearly always comes down to the starting image: Illustrator follows the pixels it’s given, and a tiny or heavily compressed picture produces ragged edges whatever the settings. No slider can bring back detail that isn’t there.
You have two ways out: dig up a bigger original, or use a converter that enlarges the image and rebuilds its shapes before converting. Just check the result closely, since rebuilding can change a small detail along the way.
Do you really need Illustrator to vectorize a logo?
You don’t need Illustrator to vectorize a logo: it earns its place if you edit artwork often, need to fix shapes by hand, or already pay for it (plans on Adobe’s site). For a one-off conversion, other tools do the same job.
Inkscape is free to install and has an equivalent feature, covered in our Inkscape Trace Bitmap walkthrough. Photoshop, often suggested, doesn’t produce a true vector file: see what it can and can’t do. If you’d rather draw something new than convert an existing logo, try the free browser-based vector editors. Prices, platforms and menus for every option are laid out in our guide to vectorization software.
Can you convert a logo without opening Illustrator?
You can convert a logo without Illustrator right in your browser, with Depixelise: no software to download, no panel to figure out. Threshold, paths, noise, palette: none of those sliders exist here, you just drop in your file (PNG, JPG, WebP or SVG, no bigger than 10 MB). About ten seconds later the logo shows up large, background already gone, and you can zoom in to judge every edge. Your inbox gets four files: the SVG, a transparent PNG at 2000 px, plus single-ink and negative variants for engraving or dark fabric. It’s 100% free: nobody asks you to sign up, and nothing is stamped on the file. The trade-off is real: there’s no point-by-point editing, and when the original is tiny its shapes get redrawn, so check them.
FAQ
Can you get Image Trace for free?
Image Trace is free only for a while: Adobe offers a free trial of Illustrator with every feature, Image Trace included. Cancel before it ends if you don’t want the subscription to kick in.
Why is the Expand button grayed out?
The Expand button stays grayed out until the image is selected and Image Trace has actually been applied. Select the picture, apply a preset, and the button becomes clickable.
Can you undo Image Trace and get the original image back?
You can undo Image Trace as long as you haven’t clicked Expand: Object > Image Trace > Release gives you back the untouched image. After expanding, only Edit > Undo (Ctrl+Z) will take you back.
Why is the Image Trace preview so slow?
The preview slows down when the image is very large or the preset uses lots of colors. Untick “Preview” while you adjust the sliders, then switch it back on to judge the result.
My converted logo has thousands of anchor points: is that a problem?
Thousands of anchor points are a problem for a print or embroidery shop: the file gets heavy and stitching it becomes a headache. Pick a preset with fewer colors, lower “Paths”, then smooth things out with Object > Path > Simplify.