Inkscape Trace Bitmap: Best Settings for a Clean Logo
Which Trace Bitmap mode suits a logo, the settings that matter (threshold, speckles, smooth corners) and how to save an SVG your printer can open.
By Gaël Pons
Published , updated
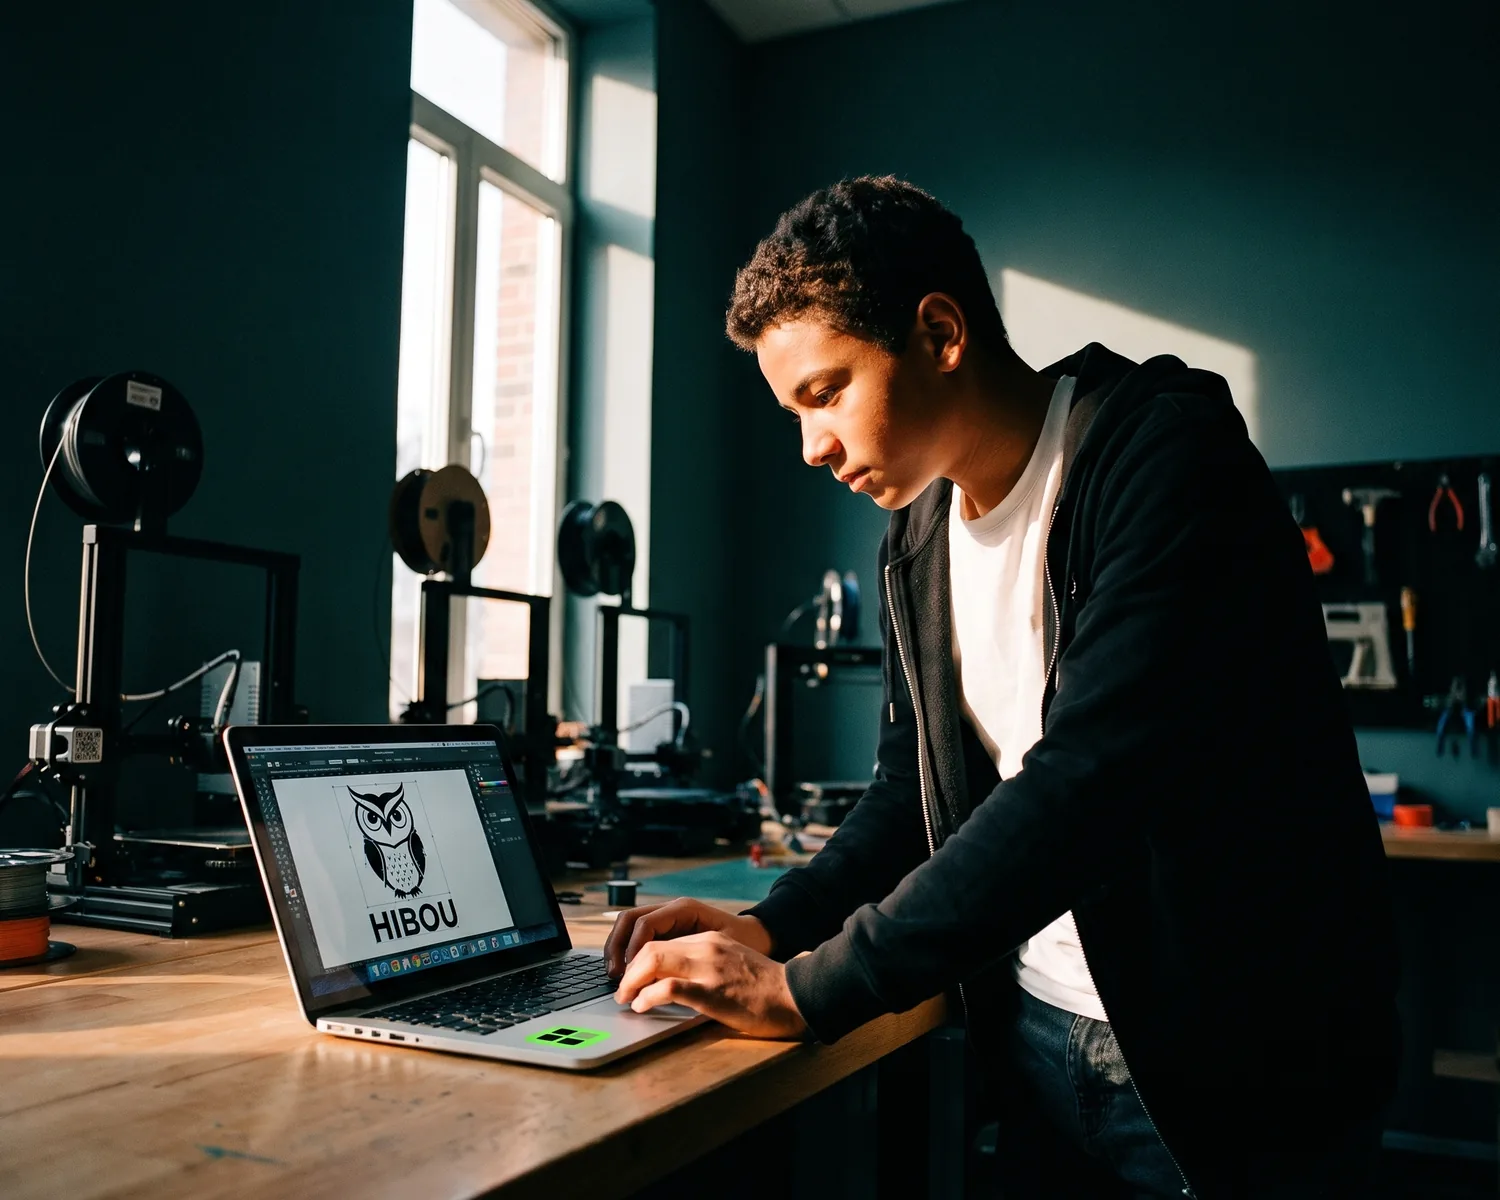
Inkscape’s Trace Bitmap turns a pixel image into shapes: select the image, open Path > Trace Bitmap (Shift+Alt+B), pick a mode, adjust the threshold, click Apply, delete the original and save as Plain SVG. Inkscape is free; plan on a few test runs for your first logo.
What you end up with is a vector file: instead of a grid of colored squares, the logo becomes a set of drawn shapes that stay crisp whether it’s printed on a mug or stretched across a banner. That’s exactly what your printer is asking for.
Where is Trace Bitmap in Inkscape?
Trace Bitmap sits in Inkscape’s Path menu, or behind the keyboard shortcut Shift+Alt+B (Shift+Option+B on a Mac). The command does nothing until an image is selected, so click the picture with the selector arrow first.
“Bitmap” is just Inkscape’s name for any picture made of pixels, whether it came as a JPG, PNG or WebP. The panel docks on the right side of the window and offers three tabs: Single scan, Multiple scans and Pixel art.
How do you use Trace Bitmap in Inkscape, step by step?
Using Trace Bitmap in Inkscape takes seven moves, from import to save, in any 1.x version downloaded from the official Inkscape website.
- Import the image with File > Import (Ctrl+I) and choose “Embed”, so the file doesn’t depend on where the picture sits on your drive.
- Select it with one click.
- Open the panel: Path > Trace Bitmap.
- Pick the tab that matches your logo (see the next section).
- Turn on Live Preview, then move the threshold until letters look solid and the background stays empty.
- Click Apply. The new shapes land exactly on top of the image, so nothing seems to happen. Drag the result aside and delete the original picture left underneath.
- Save with File > Save As and choose “Plain SVG”.
Which Trace Bitmap mode should you pick for a logo?
For a one-color logo, use the Single scan tab; for a multi-color logo, use Multiple scans set to Colors; for an image built from big visible pixels, use the Pixel art tab.
- Single scan creates one shape, black by default, using a brightness cutoff: everything darker than the threshold becomes part of the shape. It’s the right call for a rubber stamp, an engraving or a vinyl decal. The same tab also offers edge detection and, in recent versions, a Centerline mode for line drawings, which follows the middle of each stroke instead of outlining both sides.
- Multiple scans stacks several layers, one per color or per gray level. Set the number of colors that are really in the logo, background included: a red and black logo on white means three.
- Pixel art keeps the square blocks of a deliberately pixelated image, where the other two tabs would round them off.
Which Trace Bitmap settings actually matter?
Four Trace Bitmap settings decide whether you get a clean logo or an unusable file: the threshold, the number of colors, the background option and smoothing.
- Threshold (Single scan): too low and thin details and light lettering vanish; too high and the grain in the background turns into a cloud of specks.
- Number of colors (Multiple scans): every extra color adds stray shapes piled on top of each other, often invisible on screen but a real headache for an embroiderer.
- Stack and Remove background: tick both. Stack prevents thin white gaps between two colors; Remove background drops the bottom layer, nearly always the white background, which would otherwise ship as a white rectangle.
- Smooth and Speckles: smoothing rounds off corners (keep it light on a geometric logo), while Speckles ignores isolated dots a few pixels wide.
Why does Trace Bitmap give a messy or heavy result?
A messy Trace Bitmap result almost always comes from the source image: a compressed or blurry JPG holds thousands of stray shades, and Inkscape’s built-in Potrace engine faithfully turns them into thousands of shapes. No setting can rescue a blurry picture.
Three fixes, in this order:
- Find a bigger, sharper file: an old email, your previous designer’s archive, the website where the logo first appeared.
- Clean the image first: in a photo editor such as GIMP, push the contrast and paint the background plain white.
- Lighten the result: select the shapes and run Path > Simplify (Ctrl+L). Once smooths jagged edges; twice starts bending the letters.
If the logo is tiny, Inkscape has nothing to work with. You need a tool that enlarges the picture before redrawing it, as explained in how to unpixelate an image.
How do you save a clean SVG from Inkscape?
To save a clean SVG from Inkscape, use File > Save As and pick Plain SVG instead of Inkscape SVG: the file keeps only the artwork, without the editor’s private data that some print shops’ software chokes on. What an SVG holds under the hood is covered in our guide to the SVG file.
Before sending it, zoom in hard on small text and open the Layers and Objects panel (Ctrl+Shift+L) to confirm the original picture is gone: an SVG that still carries the photo will get bounced back. If your printer prefers PDF or EPS, the same Save As menu offers both.
When is Inkscape worth the effort?
Inkscape is worth the effort in three situations: you want to edit the shapes yourself, the artwork is private and must stay on your own computer, or you convert images often enough for the learning curve to pay off. Once installed, it also works offline.
For a single logo your printer needs by Friday, downloading the program and testing settings eats more time than the job deserves. The same job in Adobe’s program is covered in our Illustrator Image Trace walkthrough, and every option is compared side by side in our vectorization software guide.
Your logo, done before Inkscape finishes downloading
About ten seconds: that’s how long Depixelise needs to convert a logo on its server, with nothing to install. There’s no threshold to guess and no colors to count, and the background is stripped automatically. Your file (SVG, JPG, PNG or WebP, 10 MB max) goes in without any account to create, and the result fills the screen, ready to zoom. Four files reach your inbox: the SVG your print shop wants, a transparent PNG 2000 pixels wide, a single-color file ready for stamps and engraving, and a white negative for dark garments. It’s 100% free with no watermark. Unlike Inkscape, your image is converted on a server, and a very small logo is enlarged before being rebuilt, so check the result before sending it.
FAQ
Is Inkscape really free?
Yes, Inkscape is open-source software and completely free, with no paid tier and no subscription, on Windows, Mac and Linux. Nothing is locked behind a payment, Trace Bitmap included.
Why does nothing change after I click Apply?
Nothing seems to change because Inkscape places the new shapes exactly over the original image. Drag the selection with the arrow tool: the vector version moves away and the pixel picture shows up underneath.
Can Inkscape turn a photo into a vector?
Yes, with Multiple scans and eight to sixteen colors, but the photo becomes a flat-color poster, never a faithful copy. The file is heavy and suits a graphic effect, not a realistic print.
How do I get a single line through the middle of a line drawing?
On the Single scan tab, choose the Centerline mode: Inkscape follows the middle of each stroke instead of drawing both of its edges. It’s the setting you want for laser cutting or single-line engraving.
Should I delete the original image after using Trace Bitmap?
Yes, delete the original image before saving: otherwise the SVG holds both the shapes and the pixel picture, which bloats the file and misleads the print shop that opens it.