Photo to Embroidery: Cross-Stitch Pattern or Machine File
Turn a photo into a free cross-stitch chart or a machine embroidery design: how to simplify it, digitize it, and which photos won't stitch well.
By Gaël Pons
Published
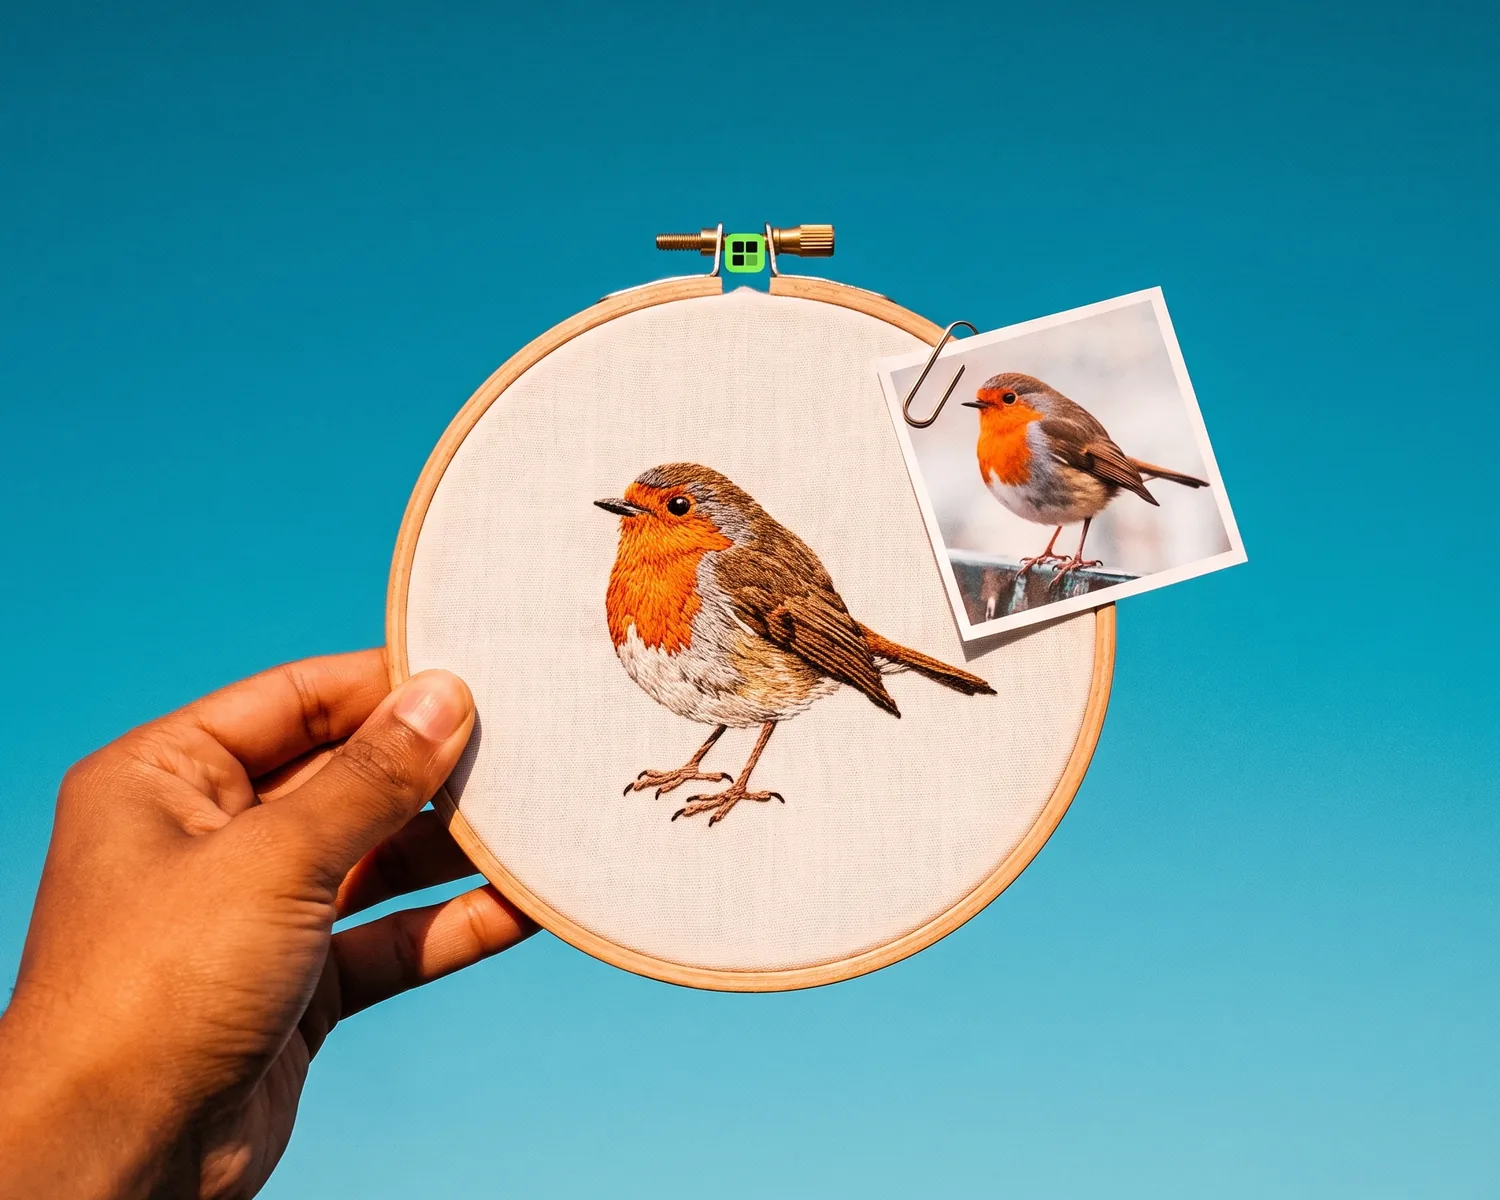
Turning a photo into embroidery takes two moves: cut the picture down to a few solid colors, then convert it into stitches, as a cross-stitch chart (free generators do it) or a machine embroidery file. What you get is a stylized motif, never a copy of the snapshot.
Can any photo be turned into embroidery?
Yes, almost any photo can be turned into embroidery, as long as you accept that it changes character on the way. Thread comes in flat, solid colors, while a photo blends thousands of shades, so you pick what stays (the outline, the eyes, two or three main colors) and let the rest go. Good photo embroideries look like illustrations, not prints.
Cross-stitch, hand embroidery or machine: which one do you need?
Cross-stitch, freehand embroidery and machine embroidery each turn a photo into thread in their own way, and most online tools only handle one of the three.
- Cross-stitch: the photo becomes a grid, and every square gets one small X in a single color. You stitch it by hand, and the result has a deliberate mosaic look.
- Freehand embroidery: you transfer the main outlines onto fabric and fill them with thread at your own pace, no grid involved.
- Machine embroidery: a machine sews filled areas and outlines. It’s what you see on shirts, hats and patches, and it’s the route that needs a properly prepared file.
How do you make a cross-stitch pattern from a photo for free?
A free online pattern maker such as Pic2Pat turns a photo into a cross-stitch chart: upload the picture, set the width in stitches and the number of colors, and you get a grid with a floss number on every square. The thread brand DMC also runs a service built around stitching your photos.
Your finished size depends on the fabric. 14-count Aida, the most common choice, has 14 stitches per inch, so a design 8 inches wide comes out at about 112 stitches across. Keep the palette short: every extra color means more thread changes, and it rarely makes the face look more like the person.
How do you hand-embroider a photo without a chart?
Hand-embroidering a photo without a chart starts with a line drawing: print a simplified version of the photo at full size, then transfer only the main outlines onto the fabric. Three common ways to do it: hold the fabric against a bright window, slide dressmaker’s carbon paper underneath, or go over the lines with a water-soluble marking pen. Colors get decided with the needle in hand.
How do you convert a photo into a machine embroidery design?
Converting a photo into a machine embroidery design takes three steps: simplify the image, turn it into clean shapes, then digitize it into stitch paths. Skip one and the machine is left guessing, which it does badly.
Step 1: simplify the picture
Crop tight on the subject, remove the background, and reduce the image to a handful of clearly different colors. Thin lines need thickening and tiny details need to go, because thread can’t reproduce detail that fine. The size and color limits that thread imposes are covered in our guide to logo embroidery.
Step 2: go from pixels to shapes
Embroidery software works best from a vector file: a file that describes the picture as outlines and filled areas rather than a grid of tiny colored squares. If the term is new to you, start with what a vector file is and why printers and embroiderers keep asking for one. A photo converted this way turns into a flat-color illustration, which is exactly what thread needs; the same logic applies when you vectorize an image of any kind.
Step 3: digitize into stitches
Digitizing turns each shape into instructions for the machine: stitch direction, density, underlay and the order the colors run in. It’s the embroiderer’s craft. To try it yourself, Ink/Stitch is a free, open-source extension for Inkscape (our Inkscape walkthrough covers the shape side), and some machine makers, such as Brother with its Artspira app, offer automatic image conversion. On photos, automatic conversion is hit or miss, so stitch a test on a scrap of fabric before the real piece.
Which photos don’t embroider well?
The photos that embroider badly are the ones whose appeal lives in subtle shading: a sunset sky, skin texture, smoke, reflections on water. Thread swaps all of that for stripes of color.
- Fine detail: a group shot shrunk down to the size of a custom embroidered patch leaves only pinhead faces.
- Dark, blurry or backlit photos: simplifying makes every flaw louder instead of fixing it.
- Busy backgrounds: a subject that barely stands out from its surroundings loses its edges once it’s down to a few colors.
Can you start an embroidery design from a phone snapshot?
Yes, an embroidery design can start from a phone snapshot, a scanned sketch or a picture someone emailed you; you don’t need a designer’s file first. Your kid’s drawing photographed on the kitchen table, or the dog’s portrait snapped in the backyard, can go into Depixelise as they are: PNG, JPG, WebP or SVG files work, with a 10 MB ceiling. Depixelise drops the background and redraws your snapshot as clean shapes while you wait, usually around ten seconds. Your pet or your kid’s doodle costs nothing to convert: it’s 100% free, there’s no login, and your motif comes back without any watermark across it.
The preview opens large on screen, so you can judge whether the motif is simple enough for thread. The pack you receive holds an SVG, a transparent PNG, a negative version and a one-color version, which makes a handy starting point for single-thread embroidery. With a real photo, expect a stylized illustration: zoom in on the details, and if it looks too busy, simplify the picture and run it again.
FAQ
Can you embroider a portrait of your pet?
Yes, pet portraits are among the photos that embroider best: an outline, fur in two or three tones and well-defined eyes are enough to make the animal recognizable. Pick a photo taken head-on, against a plain background, with the pet filling the frame.
Do you need an embroidery machine to turn a photo into embroidery?
No. Cross-stitch and freehand embroidery are done by hand with a needle and a hoop. A machine only becomes necessary for a design sewn in quantity or onto a garment, and a professional embroiderer can handle that from your file.
Can you convert a photo to embroidery on your phone?
Yes, a phone is enough: cross-stitch generators and conversion tools open right in its browser, and some machine makers have their own mobile apps. For fine-tuning stitches before you sew, a computer is still more comfortable.
Embroidery or printing to reproduce a photo?
To reproduce a photo faithfully, textile printing wins: it keeps the gradients and faces that thread can’t render. Embroidery is the pick for texture, durability and an openly illustrated look.
Can you embroider a photo in a single thread color?
Yes, and it’s often the most elegant version: the photo reduced to its silhouette or outlines, sewn in one thread. Watch the areas that touch: with no color difference, two shapes side by side merge into one, so they sometimes need a thin gap between them.